Key takeaways
- Glass etching cream uses fluoride compounds to dissolve a microscopic layer of glass, giving a shallow frost suited to small glassware.
- Sandblasting glass through a stencil gives a more even frost than cream and can carve designs several millimeters deep.
- Thin adhesive vinyl around 80–100 micron is enough for etching cream, while sandblasting needs PVC stencil film of 0.25–0.75 mm or rubber of 0.9–1.1 mm.
- Burnishing every stencil edge firmly is the most important step for crisp etched lines with either method.
- Etching cream works poorly on borosilicate and some coated glass, so a test on scrap glass of the same type is recommended.
Glass etching creates a permanent frosted design by roughening the glass surface, either chemically with fluoride-based etching cream or mechanically by sandblasting. In both methods a self-adhesive stencil film masks the glass you want to keep clear. Etching cream suits small glassware and DIY gifts; sandblasting through a PVC or rubber stencil gives deeper, more even results on larger panels.
This guide compares the two methods, lists the glass etching materials and stencils you need, walks through each process step by step and explains which stencil film thickness to use, from thin vinyl for cream to 1.1 mm rubber for deep carving.
What is glass etching?
Glass etching is any process that removes a very thin layer of the glass surface so it scatters light instead of transmitting it clearly. The result is a white, satin or frosted look that will not peel or wash off. There are two main families:
- Chemical etching: glass etching cream contains fluoride compounds, such as ammonium bifluoride, that react with the silica in glass and dissolve a microscopic layer. The frost is shallow, typically a few microns deep.
- Abrasive etching (sandblasting): compressed air propels fine abrasive at the glass, chipping away the surface. Depth depends on pressure, grit and time, from a light frost to deep carving.
Both rely on a stencil, also called a resist or mask: a material that sticks to the glass and resists the cream or abrasive. Stencil choice affects the sharpness of every edge in the design.
Glass etching cream vs sandblasting
| Factor | Etching cream | Sandblasting |
|---|---|---|
| Equipment | Cream, stencil, gloves, brush | Compressor, blast gun or cabinet, abrasive, stencil |
| Etch depth | Very shallow surface frost | From light frost to carving several millimeters deep |
| Evenness | Can be blotchy on large areas | Uniform when blasted in even passes |
| Best size | Small areas: glasses, mugs, jars, mirrors | Any size, including doors, partitions and shower screens |
| Stencil | Thin adhesive vinyl or etching stencils | PVC stencil 0.25–0.75 mm or rubber 0.9–1.1 mm |
| Glass types | Most soda-lime glass; borosilicate and some coated glass etch poorly | Almost all glass |
| Main hazard | Corrosive fluoride chemicals | Airborne dust; needs respirator and blast cabinet |
| Typical users | Hobbyists, gift makers, beginners | Glass studios, sign shops, glaziers, monument workshops |
In short: use cream for a few personalized glasses; use sandblasting for production, large panels, shading effects or anything deeper than a surface frost.
Glass etching materials and kit for beginners
A glass etching kit for beginners usually contains etching cream, a few pre-cut stencils, a brush and a squeegee. For custom work you will want:
- Stencil material: adhesive vinyl or purpose-made adhesive stencils for glass etching.
- A cutting machine or craft knife to cut custom glass etching stencils from your own designs.
- Transfer tape to move a weeded stencil onto curved glassware.
- Squeegee or bone folder to burnish edges, the single most important step for crisp lines.
- Masking tape to protect glass around the stencil.
- Isopropyl alcohol and lint-free cloths.
- Safety gear: chemical-resistant nitrile gloves and eye protection for cream; a respirator, gloves and a blast cabinet for sandblasting.
How to etch glass with etching cream
This method works for drinking glasses, wine glasses, mason jars, casserole lids and mirrors. Test on a scrap piece of the same glass first.
- Clean the glass. Wash the glass with hot soapy water, then wipe the area to be etched with isopropyl alcohol. Fingerprints and grease block the cream and cause patchy results.
- Cut and weed the stencil. Cut your design from adhesive vinyl or stencil film on a cutting machine, or by hand with a craft knife, and weed out the areas you want to etch.
- Apply and burnish the stencil. Transfer the stencil to the glass with transfer tape, then burnish every edge firmly with a squeegee or bone folder. Mask the surrounding glass with tape so stray cream cannot reach it.
- Apply a thick layer of cream. Wearing gloves and eye protection, stir the cream and spread a thick, even layer, about 1–3 mm, over the open areas with a plastic spatula or soft brush.
- Wait the recommended time. Leave the cream for the time on the product label, typically 5–15 minutes at room temperature around 20–25 °C (68–77 °F). Some makers advise gently moving the cream midway for an even frost.
- Scrape off and rinse. Scrape excess cream back into the jar if the label allows, then rinse the glass under plenty of running water until all cream is gone.
- Remove the stencil and clean. Peel off the stencil and masking tape, wash the glass again and dry it to reveal the frosted design.
Etching cream safety
Glass etching cream is corrosive and the fluoride compounds in it can cause serious burns that are not always felt immediately. Always wear nitrile gloves and eye protection, work in a ventilated area, keep it away from children and pets, and follow the label's first-aid and disposal instructions. Do not use it in or near stone, enamel or metal sinks that it could damage.
How to sandblast glass with stencil film
Sandblasting gives a more even frost than cream and can produce shaded or carved effects. The steps below assume a blast cabinet or a booth with proper dust extraction.
- Clean and dry the glass with isopropyl alcohol so the stencil adhesive bonds fully.
- Cut the stencil. Plot the design on PVC or rubber sandblast stencil film, weed the areas to be blasted and leave the rest in place.
- Apply the stencil with its transfer or polyester (PET) carrier, burnish all edges and remove the carrier. Cover any exposed glass beyond the stencil with masking film or tape.
- Set up the blaster. For a surface frost on glass, aluminum oxide or silicon carbide of about 120–220 grit at roughly 20–40 psi (1.4–2.8 bar) is a typical starting point. Never use silica sand.
- Blast in even passes. Hold the nozzle about 10–15 cm (4–6 in) from the glass, roughly perpendicular, and move steadily so the frost is uniform. For deeper carving, use a thicker stencil and higher pressure, and blast in stages.
- Remove the stencil by peeling it while the glass is still dust-free, then wash and dry the glass.
For a detailed guide to grit, pressure and multi-stage carving, see our article on sandblasting monuments and glass with stencil film.
Which stencil film should you use for glass etching?
Stencil thickness has to match how aggressive the process is. A stencil that is too thin wears through under the blast; one that is too thick is hard to cut and weed in fine detail.
| Stencil type | Typical thickness | Process | Best for |
|---|---|---|---|
| Adhesive cutting vinyl | 80–100 micron (about 3–4 mil) | Etching cream | Glassware, mirrors, small gifts |
| Thin PVC sandblast stencil | 0.08–0.3 mm | Light sandblast frost | Fine patterns, lettering and logos on glass |
| Standard PVC sandblast stencil | 0.5–0.75 mm | Medium-depth blasting | Glass doors, panels, shallow stone engraving |
| Natural rubber stencil, polyester (PET) backed | 0.9–1.1 mm | Deep carving, high pressure | Thick art glass, granite and monument work |
| Reusable glass etching stencils | Varies (silicone or mesh) | Etching cream | Repeating patterns on many items |
Glass etching vinyl stencils from ordinary adhesive vinyl are ideal for cream because the chemical does not erode the film. For sandblasting, a dedicated stencil film is far more durable. Our PVC and rubber sandblast stencil film range includes PVC from 0.08 to 0.75 mm with clear polyester (PET) backing, and natural rubber in 0.9, 1.0 and 1.1 mm gauges, in 0.305 m and 0.61 m widths. Our comparison of rubber vs PVC sandblast stencil film covers when to choose each, including sandblasting stencils for stone.
Polyester (PET) backing and sandblast masking
Many professional stencils have a clear polyester (PET) carrier on the face. It holds small islands of the design, such as the centers of letters, in exact position while you apply the stencil, then peels away before blasting. For large panels, a separate sandblast masking film or tape covers the glass beyond the stencil area so you do not need a full sheet of stencil.
Glass etching ideas, patterns and templates
Designs for glass etching work best with bold shapes and clear contrast between frosted and clear areas. Popular glass etching ideas and gifts include:
- Monograms, names and dates on wine glasses, beer mugs and stencils for glassware sets.
- Botanical silhouettes, mandalas and geometric etching patterns on vases and jars.
- House numbers and logos on entry doors, sidelights and office glass.
- Patterned etched glass panels for shower screens, cabinet doors and room dividers.
- Gradient and shaded art glass etching, built up in stages with sandblasting.
When preparing glass etching templates, keep lines at least 0.5–1 mm wide for cream and thicker for deep sandblasting, avoid tiny isolated islands that can lift, and remember that the etched area appears white against clear glass, so design in negative if needed.
Etched glass vinyl and decals: the no-chemical alternative
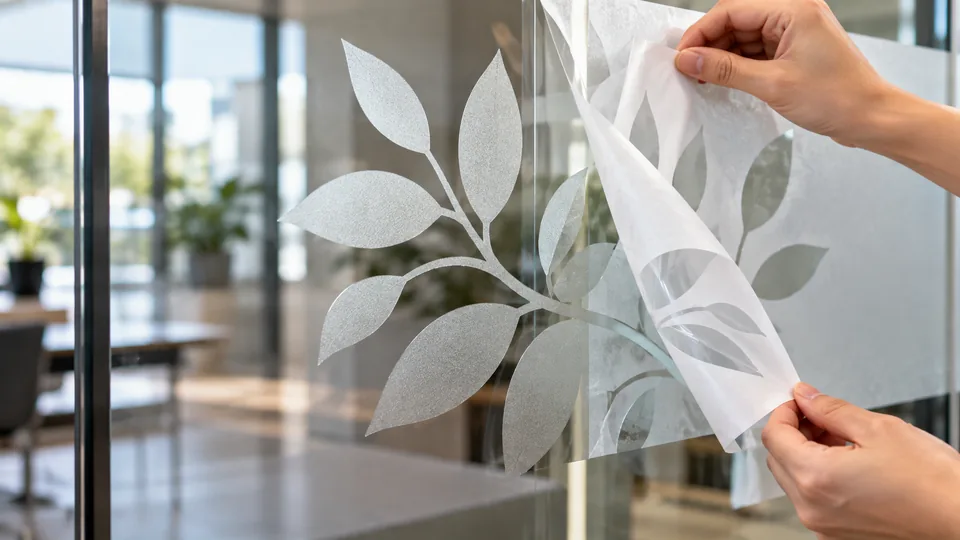
If you need privacy or decoration without permanently altering the glass, etched glass vinyl is a self-adhesive frosted film that imitates the look. Etched glass stickers and decals are cut from the film like any vinyl decal and peel off later, which makes them popular for rentals, offices and retail windows. They will not survive a dishwasher, so real etching is still the choice for glassware. Our frosted window film guide compares the options.
For glass studios, sign shops and glaziers
Architectural glass studios need stencils that cut cleanly at fine detail and hold through repeated passes. Our architectural glass etching case study uses a 0.25–0.3 mm self-adhesive PVC stencil in 0.61 m width, with sample panels to confirm minimum pattern dimensions and blast settings before full-size production. Stock stencil films ship from 1 roll in 7–10 days; custom gauges and widths start at 100 rolls.
Next step
Tell us the glass or stone you work on, your blast pressure and grit, the finest detail in your designs and the widths you need. We will recommend a stencil gauge, send free A4 samples and quote within 24 hours. Contact us for samples.
Frequently Asked Questions
Is glass etching permanent?
Yes. Both etching cream and sandblasting physically remove a thin layer of the glass surface, so the frosted design is permanent and will not peel, fade or wash off. Etched glassware is generally dishwasher safe. Only frosted vinyl films, which imitate etching, can be removed later.
What is the difference between etching cream and sandblasting?
Etching cream chemically dissolves a very shallow layer of glass and needs only a stencil, gloves and a brush, so it suits small DIY projects. Sandblasting uses compressed air and abrasive to remove glass mechanically, giving a more even frost, deeper carving and better results on large panels, but it requires a compressor and blast cabinet.
What can I use as a stencil for glass etching?
For etching cream, ordinary adhesive vinyl around 80 to 100 micron thick works well, as do purpose-made adhesive or reusable etching stencils. For sandblasting, use dedicated PVC stencil film of about 0.25 to 0.75 mm, or natural rubber stencil of 0.9 to 1.1 mm for deep carving.
How long do you leave glass etching cream on?
Most glass etching creams are left on for about 5 to 15 minutes at room temperature, but always follow the time on the product label. Apply a thick, even layer, keep the room around 20 to 25 degrees Celsius, then rinse thoroughly with running water before removing the stencil.
Why is my etched glass blotchy?
Blotchy etching usually comes from grease or fingerprints on the glass, a cream layer that is too thin or uneven, a cold room, or old cream. Clean the glass with isopropyl alcohol, apply a thick layer, and gently move the cream midway. Sandblasting gives a more uniform frost on larger areas.
Can you etch any type of glass?
Sandblasting works on almost all glass. Etching cream works on most ordinary soda-lime glass, including drinking glasses, jars and mirrors, but heat-resistant borosilicate glass and some coated or treated glass etch poorly or not at all. Always test cream on a scrap piece of the same glass first.
Are glass etching stencils reusable?
Adhesive vinyl and PVC sandblast stencils are generally single-use, because the adhesive picks up debris and the film stretches when peeled. Some silicone or mesh stencils sold for etching cream are designed to be reusable, which makes them convenient for repeating the same pattern on many glasses.