Key takeaways
- Heat transfer vinyl must be mirrored and cut shiny carrier side down, then pressed shiny side up.
- Standard PU HTV on cotton is typically pressed at 150–160 °C for 10–15 seconds with medium-firm pressure.
- Polyester needs lower heat, typically 135–150 °C, to avoid scorching and dye migration.
- When layering HTV, tack each layer for 2–3 seconds and give the finished stack one full press.
- Wait 24 hours before washing HTV garments, then wash inside out at up to 40 °C without fabric softener.
To apply heat transfer vinyl, cut the design mirrored with the shiny carrier side down, weed away the excess, pre-press the garment, then press at about 150–165 °C (300–330 °F) for 10–15 seconds with firm pressure. Peel the carrier hot or cold as the vinyl specifies. An iron works for small designs; a heat press gives more consistent results.
If you are learning how to use heat transfer vinyl or how to use iron on vinyl for the first time, this guide covers what you need, the mirroring and shiny-side rules, step-by-step methods for a heat press and a household iron, settings for cotton and polyester, layering, and how iron on vinyl compares with iron on transfer paper and sublimation.
What is heat transfer vinyl (iron on vinyl)?
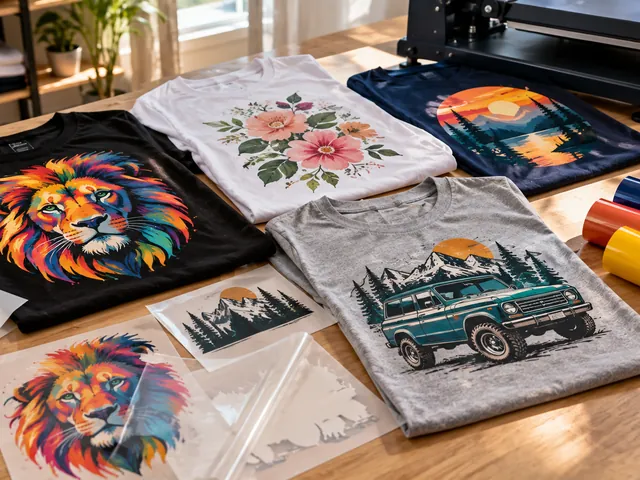
Heat transfer vinyl (HTV), also sold as iron on vinyl, is a thin polyurethane (PU) or PVC film with a heat-activated adhesive on the back, supplied on a clear, slightly tacky polyester carrier. You cut the design through the vinyl but not the carrier, remove the waste, then heat and pressure melt the adhesive into the fabric fibers.
The carrier sheet is itself coated with a light pressure sensitive adhesive. That pressure sensitive glue only holds the cut letters in place until pressing; the permanent bond comes from the heat-activated layer. This is why HTV usually needs no separate heat transfer tape, unlike adhesive vinyl for walls and windows, which bonds by pressure alone.
HTV is one of several ways to make iron on transfers for t shirts:
| Method | How it works | Fabrics | Best for |
|---|---|---|---|
| Heat transfer vinyl | Cut colored film, weed, press | Cotton, polyester, blends | Names, numbers, logos, 1–3 color designs |
| Printable iron on vinyl | Print on white vinyl with eco-solvent ink, then cut | Cotton, polyester, blends | Full-color designs with a durable finish |
| Iron on transfer paper | Print on coated paper with an inkjet or laser printer, then press | Mainly cotton | Photos and one-off home projects |
| Sublimation | Sublimation ink turns to gas and dyes the fibers | White or light polyester only | All-over prints with no hand feel |
| DTF transfers | Printed film with adhesive powder, pressed | Most fabrics | Full color on dark garments |
Ready-made iron on decals and iron on stickers are simply HTV or printed transfers that someone has already cut and weeded; iron on decals for shirts apply with the same settings as iron on vinyl for shirts you cut yourself. Any of these will iron on to fabric that tolerates around 150 °C. For a deeper comparison, read HTV vs DTF vs sublimation vs screen printing.
What do you need to apply HTV?
- Heat transfer vinyl in the right type for your fabric (standard PU, stretch, glitter, flock or puff).
- A cutting machine or plotter with a standard 45° blade; very small text can also be cut by hand.
- A weeding hook to remove the waste vinyl.
- A heat press or household iron. A tshirt heat press gives even temperature and pressure; an iron works for small designs.
- A cover sheet: PTFE (non-stick) sheet, silicone-coated parchment paper or a cotton cloth.
- Heat resistant tape for heat press work, to hold designs in position, especially when layering.
- A pressing pillow for seams, collars and zips.
Do you mirror iron on vinyl, and which side goes down?
Yes, you mirror iron on vinyl. The design is cut from the back of the vinyl through the adhesive layer, so it must be reversed on screen to read correctly once flipped onto the garment. Forgetting to mirror is the most common beginner mistake.
For cutting, iron on vinyl goes shiny side down on the cutting mat: the shiny side is the clear carrier, the dull side is the adhesive that faces the blade. When pressing, the opposite applies. The adhesive goes down onto the fabric, so the iron on vinyl is shiny side up under the press or iron.
Do you mirror permanent vinyl? No. Adhesive (permanent) vinyl for mugs, signs and walls is cut face up and applied with transfer tape, so it is not mirrored. Only heat-applied materials are mirrored.
How to apply heat transfer vinyl with a heat press
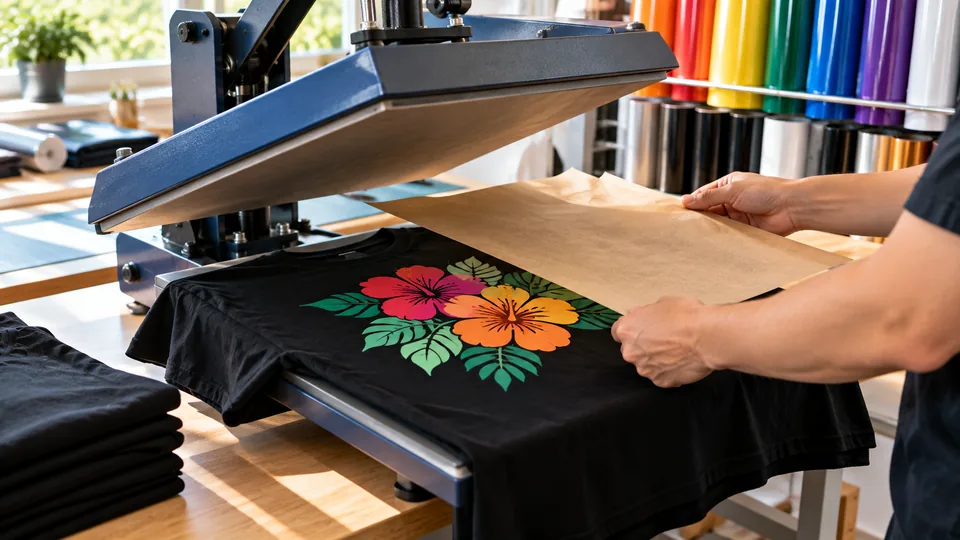
A heat press for HTV gives the most reliable bond because it applies even temperature and pressure across the whole design. Settings below are typical for standard PU heat press vinyl on cotton; always check the vinyl's own heat guide.
- Mirror and cut. Mirror the design, place the vinyl shiny side down and cut with a light pressure that scores the vinyl but not the carrier.
- Weed the design. Peel away the waste vinyl around and inside letters with a weeding hook, leaving the design on the carrier.
- Preheat the press. Set 150–160 °C (300–320 °F) and medium-firm pressure, roughly 0.3–0.4 MPa (40–60 psi).
- Pre-press the garment. Press the blank shirt for 3–5 seconds to remove moisture and wrinkles that cause poor adhesion.
- Position the design. Place it carrier side up. A typical adult chest print sits 7–10 cm (3–4 in) below the collar. Tape it if needed.
- Cover and press. Lay a PTFE sheet or parchment over the design and press for 10–15 seconds.
- Peel the carrier. Peel hot or warm, or wait until cold, as the vinyl specifies, at a low angle. If any letter lifts, lay the carrier back down and press 5 more seconds.
- Final press. Remove the carrier, cover the design and press 2–3 seconds to set the adhesive deeper into the fibers.
Choosing a press: a clamshell or swing-away tee shirt heat press with a 38 × 38 cm (15 × 15 in) platen is standard t shirt heat press equipment for small shops. The same heat press for iron on vinyl can double as a sublimation heat press or a heat press for DTF printing if it holds 205 °C evenly across the platen. When applying heat press heat transfer vinyl, a digital temperature readout matters more than platen size.
Our standard PU flex heat transfer vinyl is rated for 150–180 °C and 10–15 seconds on cotton and polyester with a heat press. For how temperature, time and pressure affect wash life, see HTV wash-fastness and heat-press settings.
How do you use iron on vinyl with a household iron?
An iron can give good results if you focus on pressure and time rather than speed. Here are the iron on vinyl instructions most crafters follow:
- Empty the water tank and turn off steam; set the iron to the cotton or linen setting.
- Work on a hard, heat-safe surface such as a table with a folded towel, not a padded ironing board, which absorbs pressure.
- Pre-press the fabric, place the weeded design, and cover with a cotton cloth or parchment.
- Press down firmly with body weight for 15–20 seconds per area, without sliding the iron. Lift and move to overlap each section.
- Check that the design has bonded, then peel the carrier as specified and re-press briefly.
Because most irons have holes and uneven hot spots, cover every part of the design with the flat center of the plate. If edges lift after washing, the cause is nearly always too little pressure.
What temperature for heat transfer vinyl on each fabric?
This heat guide gives typical starting points. Manufacturers' settings vary, so test on a scrap or inside hem first.
| Material and fabric | Temperature | Time | Pressure | Peel |
|---|---|---|---|---|
| Standard PU HTV on cotton | 150–160 °C (300–320 °F) | 10–15 s | Medium-firm | Hot or warm |
| PU HTV on polyester | 135–150 °C (275–300 °F) | 8–12 s | Medium | Warm or cold |
| Stretch or sportswear HTV | 135–150 °C | 10–12 s | Medium | Cold |
| Glitter HTV | 155–165 °C (310–330 °F) | 15–20 s | Firm | Warm |
| Puff iron on vinyl | 150–160 °C | 8–15 s | Light to medium | Warm |
| Iron on transfer paper (inkjet, light fabric) | 175–190 °C (350–375 °F) | 15–25 s | Firm | As specified |
| Sublimation on polyester | 195–205 °C (385–400 °F) | 45–60 s | Medium | Hot |
Can you iron on polyester? Yes, but polyester scorches and shows press marks above about 150 °C, and its dyes can migrate into light vinyl. Use a lower temperature, a shorter time and, for dyed polyester, a low-temperature or anti-migration HTV. Heat press for polyester work often uses a cover sheet to reduce shine. For puff vinyl, pressing too hard flattens the raised effect; see specialty HTV: puff, glitter, flock and stretch.
How to layer iron on vinyl
Layering means stacking two or more colors. Standard PU HTV layers well; glitter, flock and printed HTV should normally be the top layer only.
- Cut each color separately, mirrored, and weed them.
- Press the bottom layer for only 2–3 seconds, just enough to tack it, and peel the carrier.
- Position the next layer, cover it and tack-press for 2–3 seconds; repeat for each color.
- Give the finished stack one full press of 10–15 seconds under a cover sheet.
Keep stacks to three layers where possible. Each extra layer adds stiffness and heat exposure. A knockout design, where lower colors are cut away beneath upper ones, gives a softer hand feel.
Iron on transfer paper vs printable iron on vinyl
Iron on transfer paper, sold as ironable printer paper or iron on paper for shirts, lets you print a photo on a home printer and press it. Transfer paper iron on inkjet versions come in "light" (transparent, mirrored, for white and pale fabric) and "dark" (opaque white, not mirrored, for colored fabric). Laser printer iron transfer paper needs a toner-compatible coating and often a two-step process.
To make iron on transfers with paper, print the mirrored design, trim close to the edge, and press with firm pressure; printable iron on transfers and printable iron on paper work in a heat press too, and heat press transfer paper settings are usually printed on the pack. T shirt iron on transfer paper is ideal for one-off designs and kids' projects, but it typically feels stiffer and fades faster than vinyl. Printable iron on vinyl is the professional alternative: it is printed on solvent or eco-solvent printers, then cut to shape, and holds color through more washes.
Why is my HTV peeling, and how should you wash it?
- Peeling at edges: too little pressure, too short a time, or peeling the carrier at the wrong temperature. Re-press for 5–10 seconds.
- Vinyl will not leave the carrier: wrong peel type; let it cool if it is a cold-peel vinyl.
- Scorch marks or shine: temperature too high for the fabric; lower the heat and use a cover sheet.
- Cracking after washing: the vinyl was overheated, or a non-stretch HTV was used on stretchy fabric.
Wait 24 hours before the first wash. Turn garments inside out, wash at up to 40 °C (105 °F), avoid bleach and fabric softener, and tumble dry low or hang dry. Never iron directly on the design.
Buying heat transfer vinyl rolls for print shops and sellers
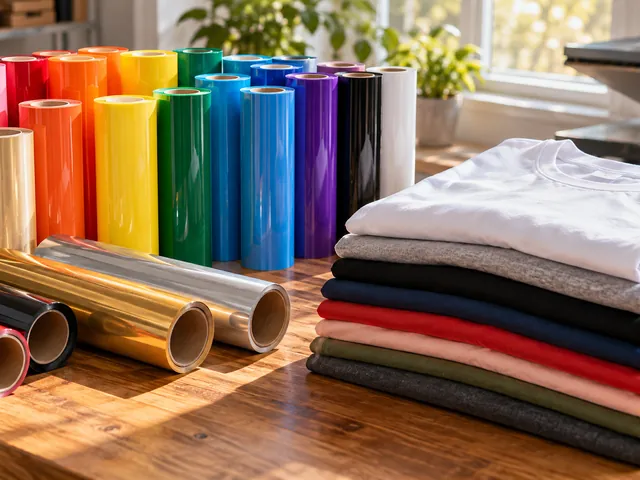
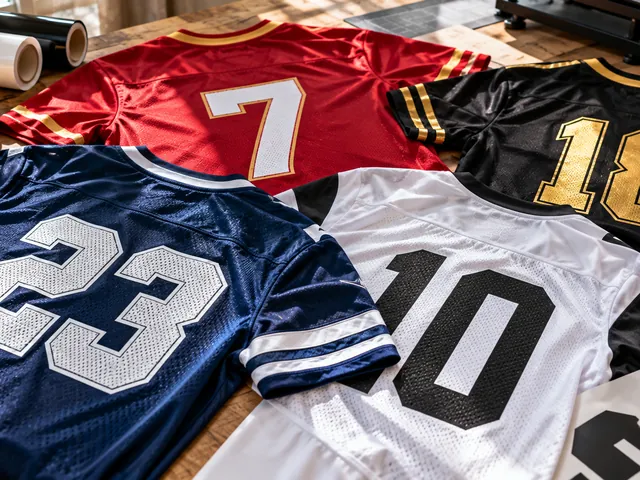
Print-on-demand stores, uniform suppliers and team kit printers buy HTV by the roll to control color and cost. Our heat transfer vinyl range includes PU and PVC grades in matte, glossy and shimmer finishes, in 0.5 m and 0.61 m widths, with high-elastic, high wash-fastness grades for sportswear. Stock colors ship from 1 roll in 7–10 days; custom colors start at 100 rolls with 15–25 days production. Trial the easy-weed grade on your own cutter and press, as in our print-on-demand supply project.
Next step
Tell us the fabrics you print on, the HTV finish and colors you need, roll width and monthly volume, and we will reply with a quotation within 24 hours. Free A4 samples are available for cutting and wash tests; request them here.
Frequently Asked Questions
Do you mirror iron on vinyl?
Yes. Iron on vinyl is cut from the adhesive side with the clear carrier facing down, so the design must be mirrored before cutting to read correctly once it is flipped onto the fabric. Adhesive vinyl for walls, mugs and signs is not mirrored, because it is cut face up and applied with transfer tape.
Is iron on vinyl shiny side up or down?
Iron on vinyl goes shiny side down when you cut it, because the shiny side is the clear carrier and the dull adhesive side must face the blade. When you press it onto fabric, it goes shiny side up, so the adhesive touches the garment and the carrier faces the iron or heat press platen.
What temperature should a heat press be for HTV?
Standard PU heat transfer vinyl on cotton is typically pressed at 150–160 °C (300–320 °F) for 10–15 seconds with medium-firm pressure. Polyester usually needs a lower 135–150 °C to avoid scorching, while glitter HTV often needs 155–165 °C for 15–20 seconds. Always start with the settings printed on the vinyl's heat guide.
Can you use a regular iron for heat transfer vinyl?
Yes. Empty the water and turn off steam, set the iron to the cotton setting and work on a hard, heat-safe surface rather than an ironing board. Press firmly for 15–20 seconds per section without sliding the iron. A heat press is more consistent, but an iron works well for small designs.
Can you iron on polyester?
Yes, you can iron on polyester, but use lower heat, typically 135–150 °C, and shorter press times, because polyester scorches and shows shiny press marks easily. Dyed polyester can bleed color into light vinyl, so choose a low-temperature or anti-migration HTV for sportswear and always test on a hidden area first.
Do you need transfer tape for iron on vinyl?
No. Iron on vinyl comes on its own clear, lightly tacky carrier sheet, which holds the weeded design in position during pressing. Transfer tape is only needed for adhesive vinyl. Heat resistant tape can still be useful to stop a design shifting on the press, especially when layering several colors.
Why is my heat transfer vinyl peeling off after washing?
HTV usually peels after washing because it was pressed with too little pressure or time, peeled at the wrong temperature, or washed within 24 hours. Re-press the design for 5–10 seconds under a cover sheet. Wash inside out at up to 40 °C and avoid fabric softener, which weakens the adhesive.
What is the difference between iron on vinyl and iron on transfer paper?
Iron on vinyl is a colored film you cut, weed and press, giving a durable, opaque finish for names, logos and simple designs. Iron on transfer paper is printed on a home inkjet or laser printer, making it better for photos and full-color artwork, but it typically feels stiffer and fades faster.